Cropping

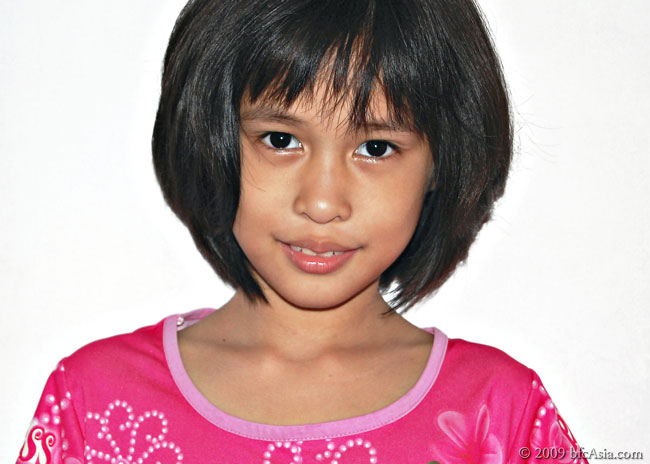
The Effervescent Kym Ng


Cropping is such an important first step in pp that I deem it almost mandatory.

Sure, one should always compose carefully in the viewfinder before pressing that shutter. In practice, however, priceless captures of a winsome smile, a toothless grin, or a frown - whatever the expression may be - are often fleeting and leaves you no time to compose and shoot. Ready or not, you either capture the expression, or lost it forever.

Hence I almost always crop my pictures, before I commence pp proper.

When you crop, the picture composition invariably improves dramatically. Unless you don't have any idea how to compose photos.

The quick-and-lazy method is simply to try - try - try until you are satisfied with the composition. Looking at others' work helps. If you like a particular photo pay attention to the composition.

Read up on The Golden Mean, Rule of Thirds and The Diagonal Method on the net. You will develop a deeper understanding of composition and your pictures will improve as you learn to crop better.

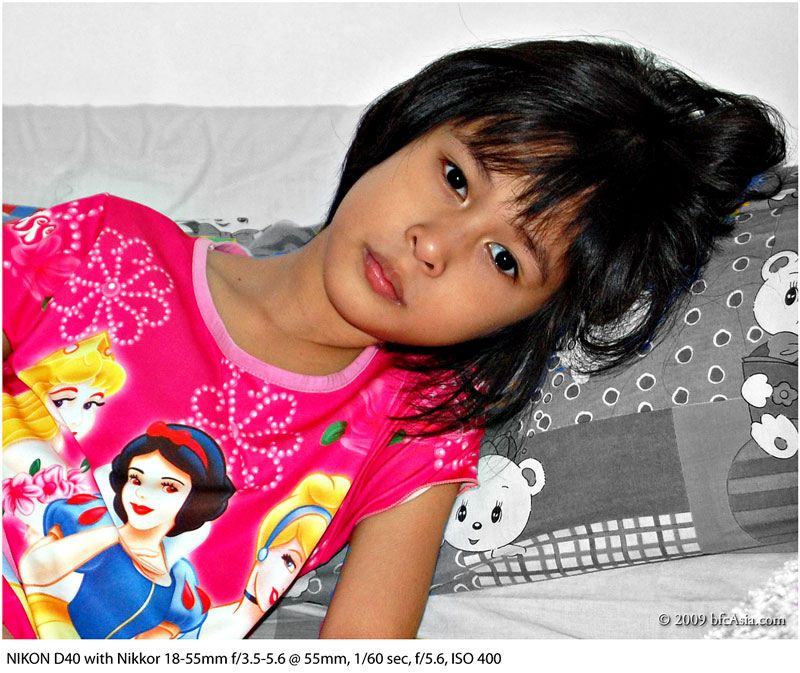
Original JPG


After Crop, before PP


How far you pp is a matter of judgment. As the background was distracting, the subject was extracted using the magic wand tool, and the edges were refined to blend into the new background.

The background to be used was treated to a fair amount of lens blur before it was suitably cropped and dragged onto the main subject layer. Next, the main subject image was adjusted for shadows / highlights and hue / saturation to lighten the shadows in the hair and tone down the excess red in the skin tone.

The eyes were retouched slightly to bring back the sparkle in both eyes and the signature embossed.

Finally, the image was sharpened and blurred using the smart blur tool in the final step before the image was File -> Saved to Web.
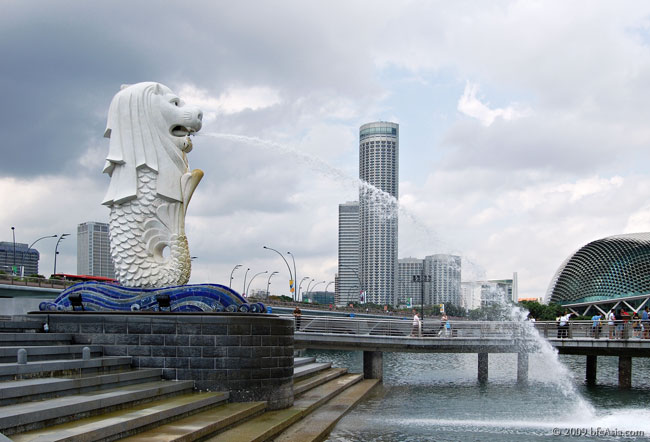
Are Our Eyes the Same?

Sometimes I wonder if I'll ever become a successful photographer. One able to earn his keep through photography.


Take technical excellence in post-processing for instance. To be commercially successful, professional photographers today must not only possess excellent photo-taking skills i.e. an eye for "pictures", but also be technically competent when it comes to Photoshop.

One only has to go through websites put up by local wedding photographers to see what I mean. Check out the better known ones who command high rates for wedding shoots. I have no doubt most possess good compositional skills.


But when it comes to technical competence in Photoshop, some are still lacking. I see :-

- colors that are off,
- white balance with a cast,
- unacceptable noise,
- too much or too little sharpening,
- and overall "clarity" is lacking.

I have seen better photos. In fact, I checked out a site by a young local photographer and was really impressed. His rates were nowhere near those charged by the better known photographers.

Yet I was intrigued by his pictures.

Pictures that were Impactful. Compelling. Captivating.

Above all, the guy knows what is a good skin tone. And how to get one. It hits you in his pictures.

Skin tone is what I look out for in photos. Especially in wedding shoots and portraits. Check out this guy's work and see if you agree with me. Better still, check out his blog.


Am I missing something?

Maybe the fault lies with me - with my eyes ?

Do I see what others see? Is it possible that somehow I see color differently from others? The same color may appear in different shades and tones to different people.

I may not appreciate the work of the $10k-per-shoot photographer. But his clients do. They see his work in the same shade and tone as the photographer's. And liked them enough to become his clients. That is all that matters, isn't it ?

Therefore the fault lies not with that photographer's. The problem lies with me.


Makes me wonder - are our eyes all the same? Do we see a certain shade of red, for example, exactly as seen by another person? If having a good eye is in the genes, there is nothing we can do about that. If that is the case, then maybe I will never make it as a commercial photographer.

Think about that. Do we have what is required to be a commercially successful photographer?

Good Skin Tone

Final Treatment


Original photo


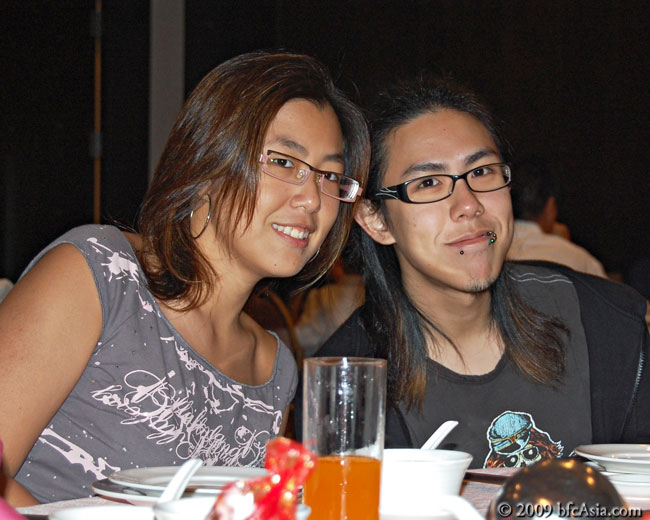
The above jpeg is what one gets straight-out-of-the-camera: dull-looking, lacking in contrast and clarity. Any way to improve the photo?

Well, the standard pp is to apply levels and curves, with adjustments as needed for brightness/contrast, shadows/highlight and hue/saturation. That is then followed by USM sharpening, with a little Gaussian or smart blur thrown in at the end to take the edge off an overly sharpened image.

The improvement, depicted below, is obvious: clearer colors, sharper print.

First Post-Process


Yet something still seems amiss. Not only is the background distracting...but can we improve the skin tone ?

Almost everyone will know what is a good skin tone when they see it. Yet it is hard to pinpoint what makes a good skin tone. It is a very subjective feeling. And there are no magic numbers to punch in to produce a nice skin tone.

==

I guess skin tone is a closely guarded secret amongst professional photographers. Few talk about it, much less share what they know. Googling for skin tone how-to's reveals the various techniques and tools used, but none on how to produce beautiful skin if the sitter has a less-than-perfect skin tone.

As for me, I use the Selective Color tool, including Hue / Saturation, trying out various color combinations until I've got the skin tone I look for.

Admittedly I am not there, yet.

Sure, the print could be improved: the washed-out chinaware due to the inappropriate flash used, masking could be better, etc ... but you get the point on the skin tone, don't you ?

No, I am not talking about matching skin tone to the sitter's actual skin. But rather to print process such that the skin tone of the sitter becomes breathtakingly beautiful! Never mind if the final print result has nothing to do with reality. After all, everyone wants to look their best in print, isn't it?

Beautiful skin tone was the reason why photographers raved over Fuji's Velvia or Kodak's Vericolor in the days of film. And chose those films when they want to portray their subjects in beautiful skin tones. That is what I'm talking about.

Skin tone is therefore a very subjective issue. And because it is subjective, I consider it as the holy grail of print processing. Many clients will beat a path to your door if you succeed to produce a beautiful skin tone for your subject.

Because then your picture-taking will stand out from the crowd.


Related Post: Skin Tone Revisit

PP: Focus on Color

A photo with a distracting background can be improved simply by fading out the background. There are many ways to achieve that effect. One of the simplest is to select the background with the magic wand tool, then desaturate the background layer to zero. This gives a grey background that helps to focus attention on the main subject, which retains its full color.


Compare with the original, straight-out-of-the-camera jpeg here:

Why Post-Production ?

Before today - Dec 15, 2008 - the D40 photos depicted on the blog were unprocessed, straight-out-of-the camera jpegs. Post-processing each photo simply took too long, and I had switched to using jpegs instead of nefs in my wife's D40.

If you wish to p-p your photos, you should set the D40 to use the camera raw format instead of jpegs. Post-processing jpegs degrade the image, especially when you need to crop and reduce the photo to a smaller size.

However, to show what p-p can do to a photo, I decided to p-p a jpeg photo at a friend's request:

Cropped & after PP


So why post-process? Well, check out the unprocessed original, straight-out-of-the-camera jpeg here.

For the above photo, the post-processing comprises the following steps (the numbers in brackets vary with each photo):

1 - crop,

2 - color correct using levels and curves,

3 - set brightness (+8) / contrast (-5),

4 - set shadow (20-20-20) / highlight (10-20-20),

5 - hue (0) / saturation (-10),

6 - emboss copyright and EXIF info,

7 - sharpen with USM.

8 - File->Save for Web

The "File->Save for Web" was used to strip out the exif info for a smaller file size for the web.

In recent weeks I reduced my p-p time by combining the more common p-p steps into an action (steps 6-8), and was quite happy with the result.

Postscript: USM should be the last step in the p-p process, i.e. after cropping, curves, etc. Be especially careful when cropping &/or reducing the size of jpegs, because artifacts are introduced, some more evident than in others.

Post-production Workflow 1

This is my current workflow:

a - Make duplicate and Post process the raw file

b - Emboss signature watermark (script)

c - Flatten image (script)

d - Resize to 800px horizontal, constrain proportions, 72 ppi, resample, bicubic (script)

e - Convert to sRGB (script)

f - Convert to 8-bit (script)

g - Apply Luko USM technique (script)

h - Run frame script if desired

i - Save to new file (script)

j - Close file (script)

I made all those steps marked with script into an action and run it after step a.

Resizing

When resizing, should I use File->Save for Web & Devices.. or Image->Image Size..?

If you use resize using Image->Image size.. the exif info is retained after resizing. Save as jpg using a quality setting of 7 and Baseline format option checked.

Using File->Save for Web.. will discard all exif info in the jpg file, reducing file size by about 50k.

You should also ensure your photo is converted to and assigned with sRGB v4 ICC before saving. Without the color profile your photo will look washed out in browzers.

Nikon's amazing 14-24mm f/2.8 Lens


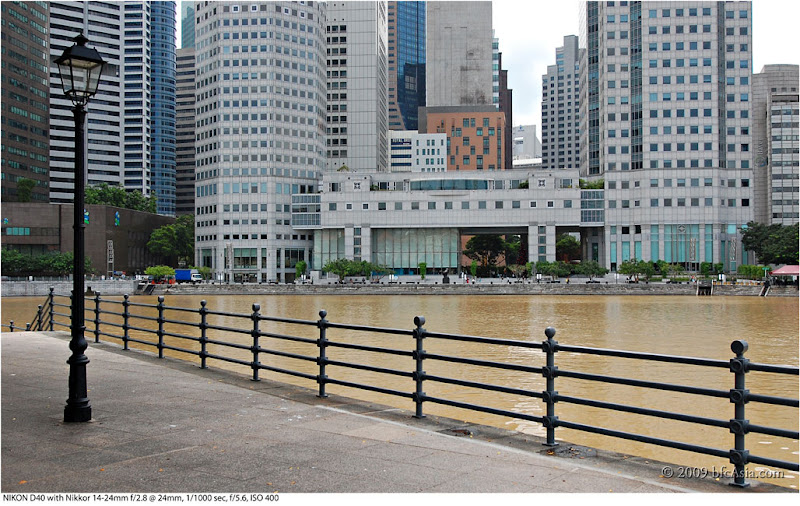
Above view of Singapore's financial district at Boat Quay was taken with the 14-24mm f2.8 Nikon lens mounted on a D40.

When I first looked at the image, I was awe-struck by the "flatness" of the image rendered by the amazing 14-24mm lens, the same feeling I got with images taken with the Nikon 24mm f/2.8 lens. Is that only me or do you also have the same reaction?


The DX format D40 is an admirable camera, but does not fully exploit the full-frame lens. To buy D3X, D3 or D700? Each has its pro's and con's. Well, no hurry, as I believe Nikon will launch a full-frame camera targeted at the prosumer market in about 18 months' time i.e. a product with the features and capability of the D3 full-frame sensor but in a US$1,500-2,000 price package.


The Indochine Restaurant at Empress Place

12-24mm Nikkor or 24-70mm Nikkor ?

A common question that has been asked on several forums is which lens should one buy to go with the D700 / D3. Particularly when it comes to a toss-up between the amazingly sharp 14-24mm f/2.8 and the equally impressive 24-70mm f/2.8.

The answer is simple: both are equally indispensable: in a space as small and confined as a HDB flat, there is simply no substitute for the 14-24mm Nikkor ! The 24-70mm Nikkor does not have a wide enough angle to capture group shots comfortably in a confined space. Likewise, out on the streets or in a church hall, the 14-24mm Nikkor does not have the "reach" of the highly versatile 24-70mm f/2.8 to give close-up shots of events that happen. So both are indispensable, depending on the occasion and space available.


The former General Post Office Building at Fullerton Road


Now rebirthed as The Fullerton Hotel
Related Posts with Thumbnails
 

NIKON WORKSHOP Copyright © 2009 bfcAsia.com All Rights Reserved