Before today - Dec 15, 2008 - the D40 photos depicted on the blog were unprocessed, straight-out-of-the camera jpegs. Post-processing each photo simply took too long, and I had switched to using jpegs instead of nefs in my wife's D40.
If you wish to p-p your photos, you should set the D40 to use the camera raw format instead of jpegs. Post-processing jpegs degrade the image, especially when you need to crop and reduce the photo to a smaller size.
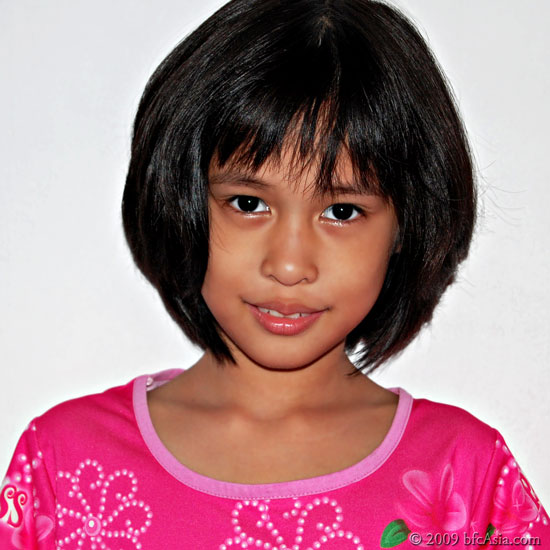
However, to show what p-p can do to a photo, I decided to p-p a jpeg photo at a friend's request:
Cropped & after PP
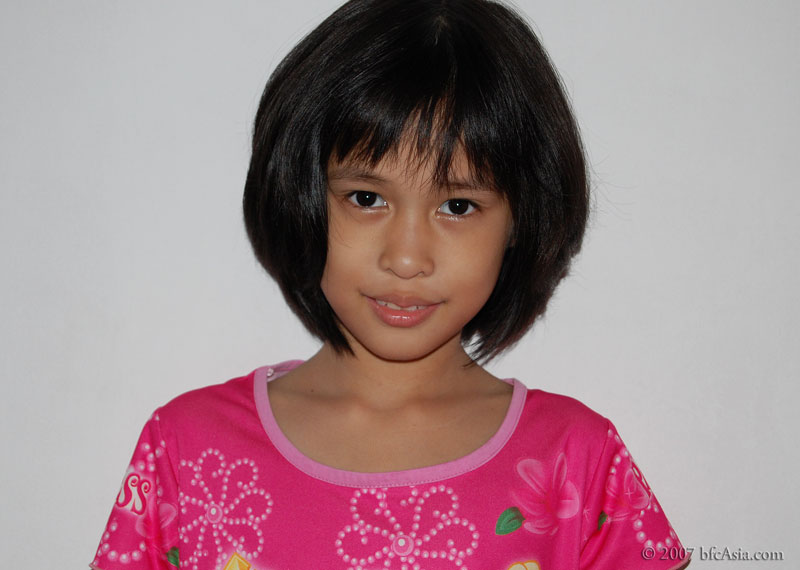
So why post-process? Well, check out the unprocessed original, straight-out-of-the-camera jpeg here.
For the above photo, the post-processing comprises the following steps (the numbers in brackets vary with each photo):
1 - crop,
2 - color correct using levels and curves,
3 - set brightness (+8) / contrast (-5),
4 - set shadow (20-20-20) / highlight (10-20-20),
5 - hue (0) / saturation (-10),
6 - emboss copyright and EXIF info,
7 - sharpen with USM.
8 - File->Save for Web
The "File->Save for Web" was used to strip out the exif info for a smaller file size for the web.
In recent weeks I reduced my p-p time by combining the more common p-p steps into an action (steps 6-8), and was quite happy with the result.
Postscript: USM should be the last step in the p-p process, i.e. after cropping, curves, etc. Be especially careful when cropping &/or reducing the size of jpegs, because artifacts are introduced, some more evident than in others.
If you wish to p-p your photos, you should set the D40 to use the camera raw format instead of jpegs. Post-processing jpegs degrade the image, especially when you need to crop and reduce the photo to a smaller size.
However, to show what p-p can do to a photo, I decided to p-p a jpeg photo at a friend's request:
Cropped & after PP
So why post-process? Well, check out the unprocessed original, straight-out-of-the-camera jpeg here.
For the above photo, the post-processing comprises the following steps (the numbers in brackets vary with each photo):
1 - crop,
2 - color correct using levels and curves,
3 - set brightness (+8) / contrast (-5),
4 - set shadow (20-20-20) / highlight (10-20-20),
5 - hue (0) / saturation (-10),
6 - emboss copyright and EXIF info,
7 - sharpen with USM.
8 - File->Save for Web
The "File->Save for Web" was used to strip out the exif info for a smaller file size for the web.
In recent weeks I reduced my p-p time by combining the more common p-p steps into an action (steps 6-8), and was quite happy with the result.
Postscript: USM should be the last step in the p-p process, i.e. after cropping, curves, etc. Be especially careful when cropping &/or reducing the size of jpegs, because artifacts are introduced, some more evident than in others.